Start With the Job the Banner Must Do
Before you choose a banner, pin down where it will be used and what it must achieve. A shop opening banner on a wall in Hamilton has different needs to a roadside promotion in Mangaung, and a fence banner at a building site has to cope with more movement, dust and weather. Think first about the message, viewing distance and how long it must stay up.
For short term promotions, a lighter banner can be cost effective. For a longer campaign, or where the banner will be tied to poles and exposed to strong wind, it is worth choosing a heavier material and better finishing. If the banner will sit near traffic, make sure the lettering is large enough to read at a glance from a car window.
- Short term: sales, openings, events, school functions
- Medium term: seasonal promotions, site notices, direction signs
- Long term: perimeter branding, recurring campaigns, building wraps
- Special use: indoor displays, stage backdrops, exhibition walls
When in doubt, measure the viewing distance and the mounting area first. That simple step saves money and avoids a banner that is too small or awkward to fit. It also helps if the artwork needs to be redrawn for clean printing, which is common when a logo has thin lines or low resolution.
Compare Banner Sizes by View and Space
Banner size should be chosen to suit the space, not just the wording. A long banner is useful for running text and multiple services, while a square or vertical banner can work better where wall space is limited. In Bloemfontein and the surrounding towns, many sites have wind, so oversized banners need proper anchoring and enough clearance from walls, trees or fences.
As a rough guide, keep the main message large and simple. If people are reading it from a vehicle, the key words must be readable in a split second. For pedestrians, you can use slightly smaller text, but not so small that it gets lost against the background. If the banner is for an exhibition stand, consider the height of the display tables and the distance between the viewer and the graphic.
- Measure the full fixing area, including margins for hems or rope pockets
- Allow space for eyelets, pole pockets or frame clips
- Check for doors, handles, lights and windows that may block part of the banner
- Keep important text away from the edges so it is not lost in finishing
A banner that is too tight on a frame can ripple or tear. One that is too loose can flap noisily and wear out sooner. A good sign maker will check the site first and advise whether the banner needs extra reinforcement or a different fixing method.
Choose the Right Material for Weather and Use
The material you choose has a big effect on the final result. For outdoor use, you need something that can handle sun, rain and dust without fading too quickly. In the Free State sun, darker colours may hold strong visually but can show wear faster if the print quality is poor. For indoor use, a lighter banner can be enough, especially for temporary events or exhibition halls.
Ask how the banner will be printed and whether it needs lamination, though not every banner needs it. Lamination is more common on decals and some rigid graphics, but banner protection may come from the material itself and the way it is installed. If the banner is for a windy area, the maker may suggest a mesh option or extra fixing points so the pressure can pass through or spread out better.
- Outdoor promotional banner: durable print, UV resistance, reinforced edges
- Indoor event banner: lighter weight, neat finish, simple hanging method
- Windy site banner: stronger edge treatment and more eyelets
- Long term branding: thicker substrate and careful installation planning
Humidity, dust and heat can affect finishing over time, so it pays to be specific about where the banner will live. If it is close to vehicle exhausts, along a fence line, or on a wall that gets afternoon sun, mention that at the quoting stage. It helps the team spec the right product and avoid early failure.
Finishing Details That Make a Banner Last Longer
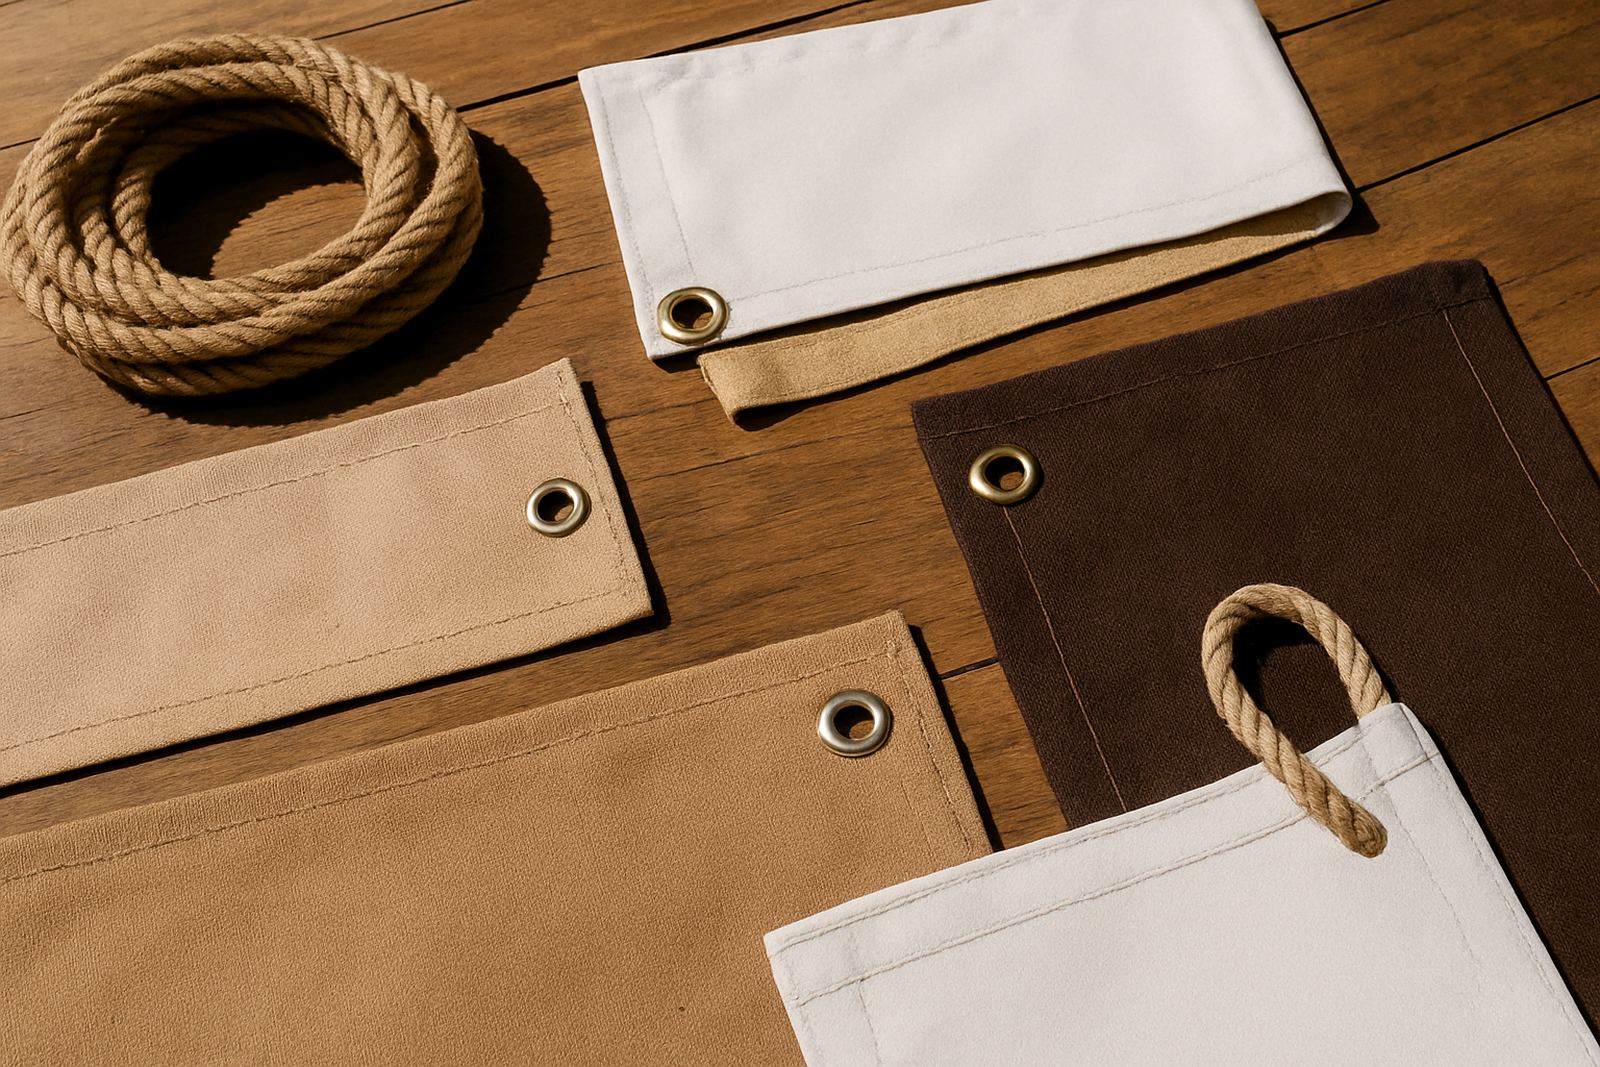
Finishing is what turns a printed sheet into a usable sign. The usual options include hems, eyelets, pole pockets and reinforced corners. Each one serves a different purpose. Hems strengthen the edge, eyelets make tie-downs easier, and pole pockets allow the banner to slide onto a tube or frame. The wrong finish can make installation harder and shorten the life of the banner.
For most outdoor jobs, reinforced edges are worth it. They stop the banner from fraying and help it hold tension. For a banner that will be taken down and stored, ask for a finish that folds neatly and does not crease too badly. If the banner is going to be mounted on a structure where the wind catches one side, the installer may recommend extra eyelets or a frame system instead of simple cable ties.
- Hems for strength around the full perimeter
- Eyelets for rope, cable ties or hooks
- Pole pockets for tubes, poles or stand systems
- Reinforced corners for high-stress points
It is also worth checking the bleed and safe area on the artwork. If the copy runs too close to the edge, a small shift in cutting can clip letters or logos. That is a small detail but it makes a big difference on the finished banner.
How to Plan Installation on Walls, Fences and Frames
Installation method should be decided before printing. A wall banner, fence banner and frame banner each need different fixings. On brick, plaster or metal, the surface condition matters. If a wall is uneven or weak, the fixing points may need to be moved so the banner sits flat and does not pull out. For fences, the spacing of the mesh or bars will affect how many tie points you need.
On larger sites around Mangaung or industrial areas near Bloemfontein, installers often have to work around security gates, uneven ground and existing signage. That is why a proper site survey helps. It lets the team check access, wind exposure and whether the banner will interfere with movement or municipal rules. If a banner faces a public road, there may be limits on size, projection or visibility that need to be considered first.
- Confirm surface type: wall, fence, frame, pole or hoarding
- Check access for ladders, scissor lifts or safe ground setup
- Measure wind exposure and note any nearby corners or open gaps
- Allow for future removal without damaging the surface
A clean installation looks better and lasts longer. It also makes maintenance simpler if the banner needs to be tightened or replaced later. In some cases a banner can be refurbished instead of remade, which saves time and money if the structure is still sound.
Artwork and Copy Checks Before You Sign Off
Good banner artwork is clear, brief and properly set up for print. A banner is not the place for long paragraphs. Keep the headline strong, the contact details easy to read and any extra wording to a minimum. If your logo only exists in a poor quality file, ask for a redraw so the print comes out crisp. That one step can make a cheap banner look far more professional.
Before approval, check spelling, phone numbers, dates and service areas. Make sure the colours are correct for your brand and that the background gives enough contrast. If the banner will be read in bright sun, avoid pale text on pale backgrounds. If it will be used at night or in shaded areas, stronger contrast helps more than decorative detail.
- Use large, simple lettering for the main message
- Keep contact details to the essentials
- Check spelling, spacing and colour contrast
- Ask for a proof before production starts
For repeat work, keep the same layout and size where possible. That makes future replacements easier and gives a consistent look across shop signs, vehicle graphics and exhibition displays. It also helps when a banner needs to match other branding on windows, walls or floors.
A Simple Buyer Checklist for the Final Order
When you are ready to order, use a checklist so nothing gets missed. The best banner is the one that suits the site, lasts for the intended period and can be installed without drama. If the quote includes setup, fabrication and installation, confirm what is covered and what needs to be supplied on site. That may include power access, wall fixing points or permissions from the property owner.
If you are comparing options, do not look at price alone. Ask what finishing is included, whether the material is suitable for outdoor exposure, and how the banner will be mounted. A cheaper quote can become expensive if the banner has to be replaced early, or if the fixing method fails in wind. In our experience, a well planned banner often saves more than it costs over the full campaign.
- Have the final size written down in metres or millimetres
- Confirm indoor or outdoor use
- Choose the finishing method and fixing points
- Approve artwork and wording before printing
- Check whether installation and removal are included
For businesses in Bloemfontein, Botshabelo, Thaba Nchu, Welkom and Kroonstad, the best results usually come from matching the banner to the site instead of forcing one standard size everywhere. A little planning now prevents waste later, and that is especially helpful when you need a sign that works first time.