
1. Start with the wall surface, not the picture
Before you choose colours or sizes, look closely at the wall itself. Painted plaster, drywall, brick, glass, aluminium and sealed timber all behave differently, and the adhesive or fixing method must match the surface. A wall with dust, flaking paint, damp patches or old glue will give trouble later, especially in older commercial buildings around Bloemfontein where walls can have patch repairs and uneven paint coats.
Run through the surface in daylight if you can. If the wall is chalky, soft, oily or recently painted, it may need prep first. In some cases a printed panel or removable graphic is a better choice than direct application. If the wall gets direct sun or strong aircon, the edge condition matters too, because heat and cooling can affect long term hold.
- Check for loose paint, cracks and damp spots.
- Wipe the area with a clean cloth and see if dust comes off.
- Confirm the wall has cured after painting, usually at least 2 weeks.
- Note any texture, as rough walls change the final look.
2. Measure the space where people actually move
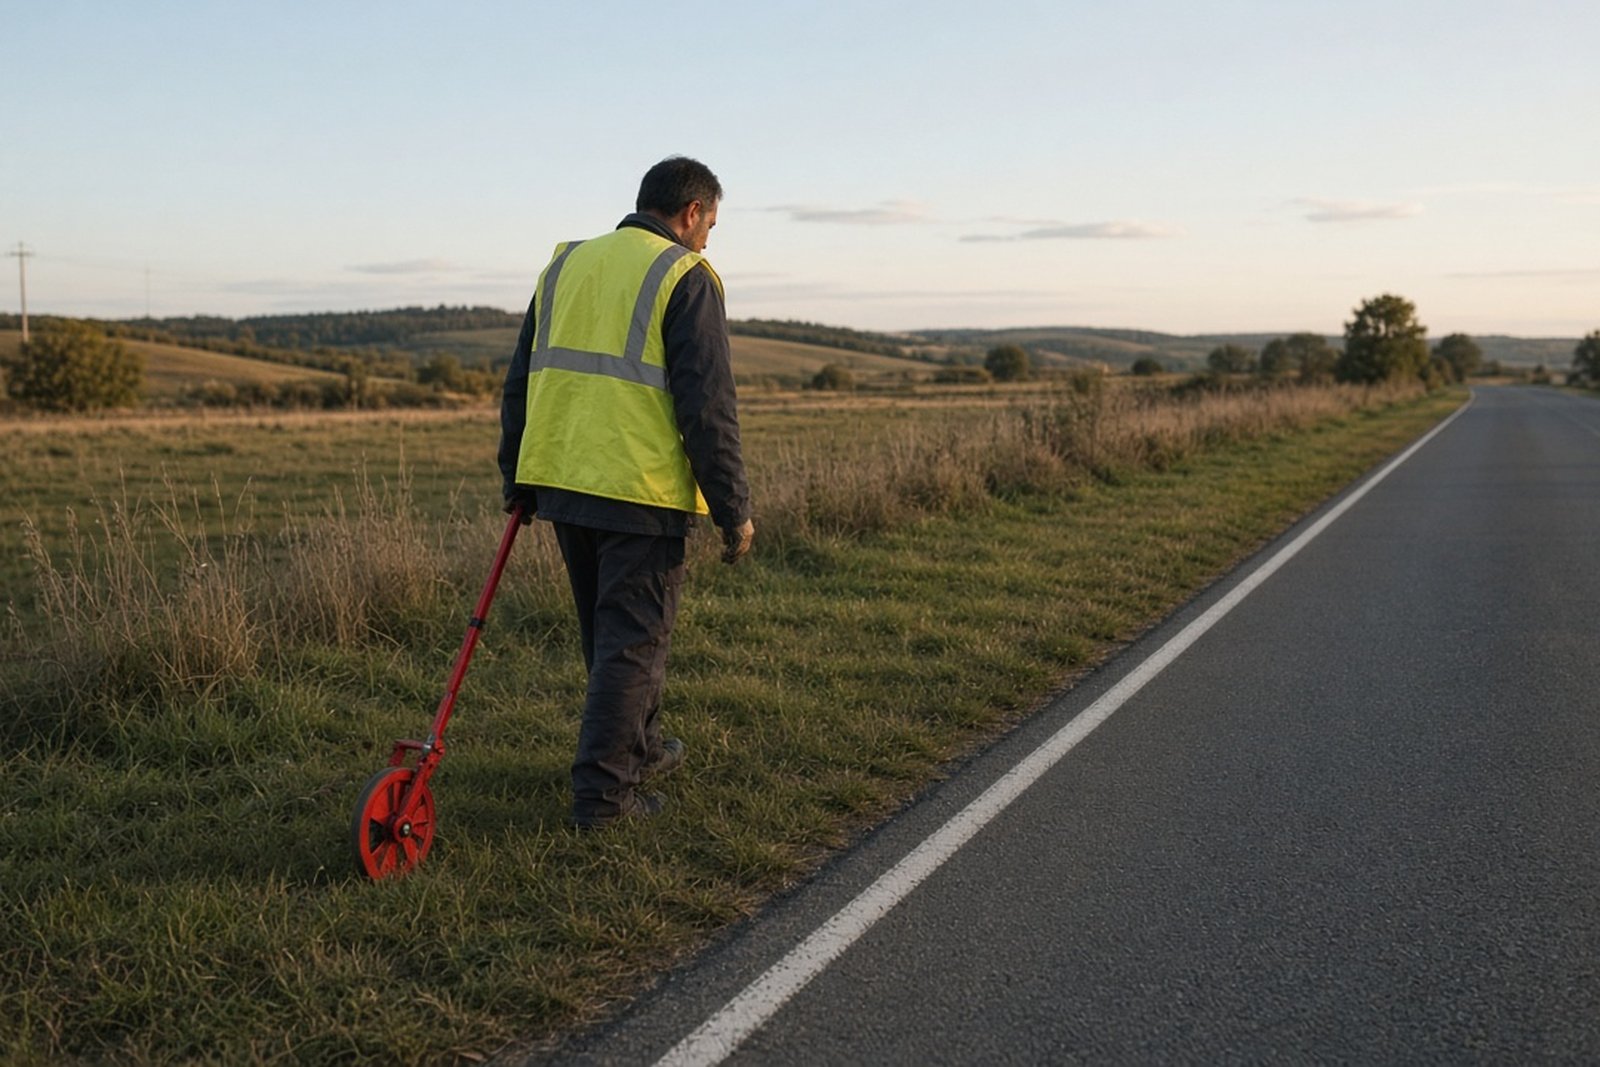
A wall graphic is not only about fitting the wall, it must suit the movement in the room. Measure the full wall size, then mark doors, windows, plug points, switches, skirting, noticeboards and any fittings that will interrupt the image. In shops and offices, people often stand closer than expected, so text and logos need enough breathing room.
For reception areas, corridors and meeting rooms, think about eye level and viewing distance. A large image in a small room can feel heavy, while tiny text in a wide foyer gets lost. If the wall is in a passager with foot traffic, keep the main message above waist height or protect the lower section with a tougher finish.
- Measure width and height in millimetres.
- Record the position of doors, windows and switches.
- Note the closest viewing distance in metres.
- Allow extra space for trimming and alignment.
3. Match the graphic to the room’s purpose
Not every wall does the same job. A retail wall may need to attract attention fast, while a boardroom wall should support a calm, professional feel. In a school, clinic, warehouse or municipal office, the message often needs to be practical and easy to read. For customer-facing areas, short wording and clear contrast usually work best.
Think about how long people stay in the room. A short burst of colour suits waiting areas, while a workspace may need a cleaner layout so staff do not get distracted. If the wall sits near loading areas, wash bays or entrances, it should be chosen for easy cleaning and less wear from dust, humidity or regular contact.
- Reception: branding, welcome message, service lines.
- Sales floor: offers, categories, directional cues.
- Boardroom: logo, values, subtle design elements.
- Workshop or back-of-house: safety notes or durable branding.
4. Prepare the artwork before print or cut
Good wall graphics begin with clean artwork. Logos should be in the correct format, text should be checked for spelling, and colours must be matched with care. If the logo is old, faded or only available from a phone image, it may need to be redrawn before production. That extra step avoids jagged edges and poor sizing once the graphic is enlarged.
Also decide what you want the wall to say. Some clients need a single logo and tagline, others need a full visual panel with icons, service lists or a timeline. Keep in mind that large wall images are viewed from different angles, so strong contrast and clear spacing matter more than fine detail. A little simplification can make the result read better from across the room.
- Send the highest quality logo you have.
- Confirm all wording and spellings before approval.
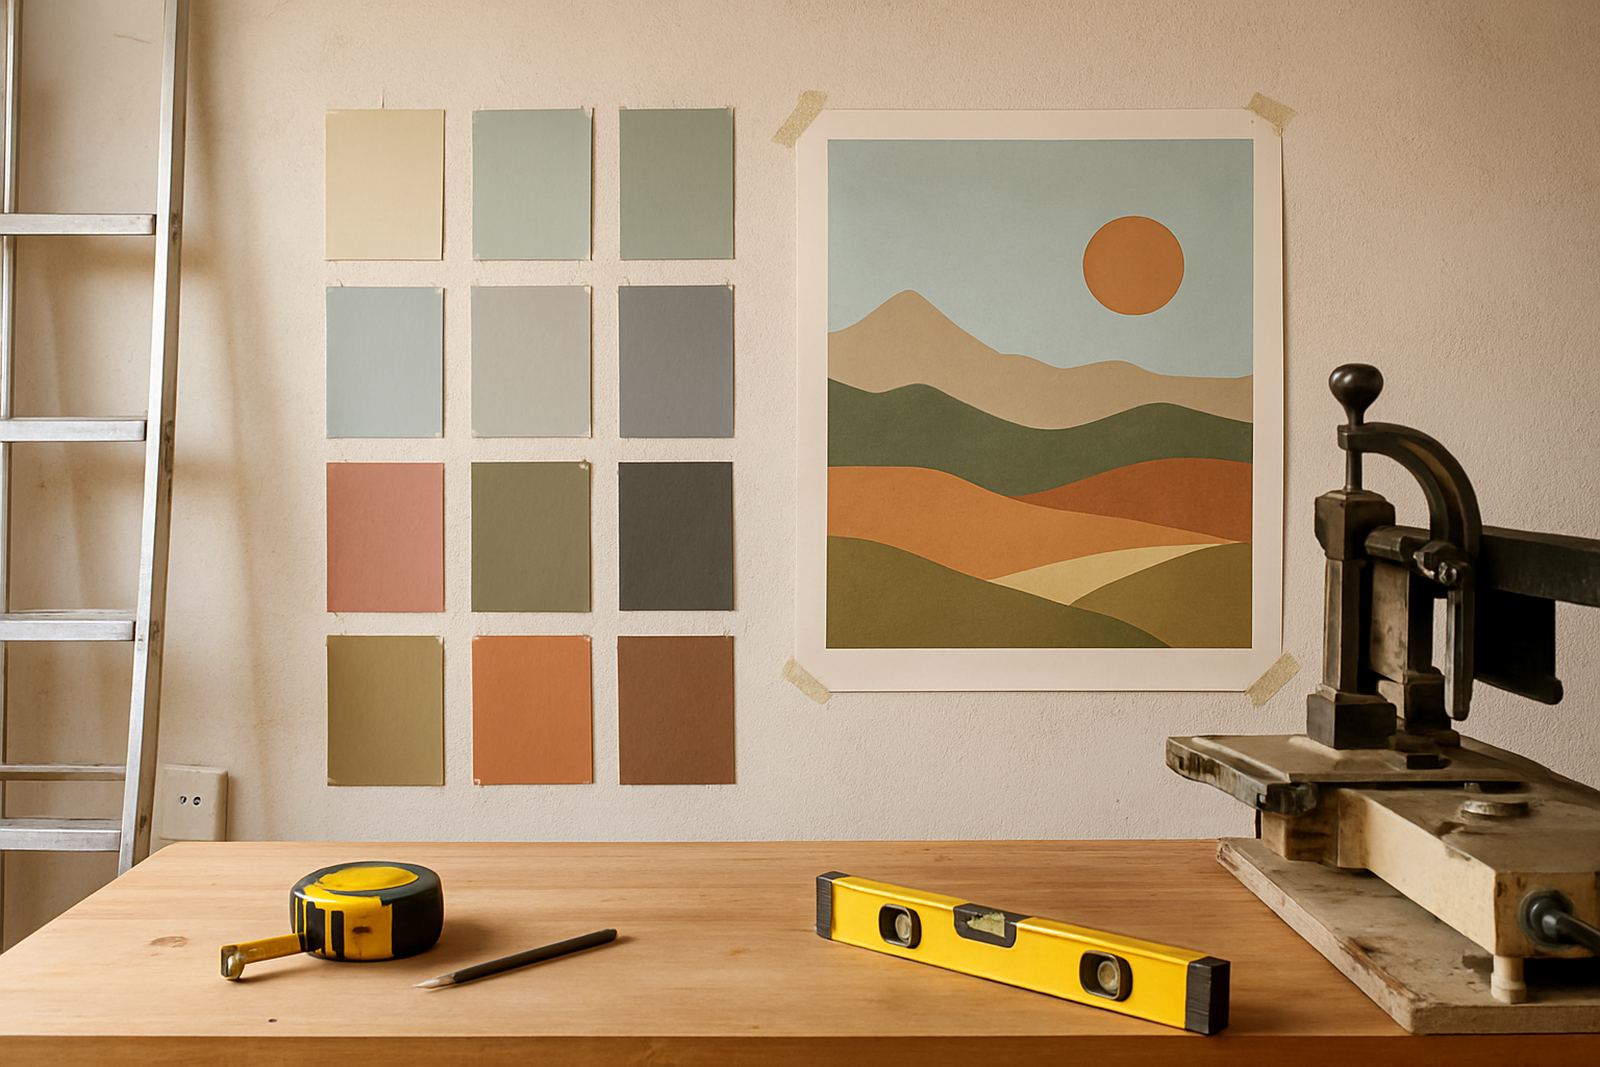
- Choose colours that suit the wall and lighting.
- Ask for a proof before anything goes to production.
5. Choose the right finish for wear, cleaning and sunlight
Wall graphics can be matte, satin or gloss depending on the room and the look you want. Matte is often better where there is bright light or a lot of foot movement, because it cuts reflections. Gloss can suit certain feature walls but may show glare near windows or overhead lights. In Bloemfontein, where some spaces get strong afternoon sun, finish choice makes a real difference.
If the wall will be cleaned often, or if hands and bags touch it regularly, a protective laminate can help. This is useful in corridors, schools, retail areas and public-facing spaces. For temporary campaigns, a shorter-life graphic may be enough, while permanent branding needs a more durable make-up and proper edge sealing. In humid or dusty conditions, a careful install is just as important as the print itself.
- Matte for low glare and soft viewing.
- Gloss for stronger colour impact in controlled lighting.
- Protective laminate for cleaning and scuff resistance.
- Special prep for textured or exposed surfaces.
6. Plan the install day and aftercare
Installation is smoother when the wall is ready and the room is clear. Furniture should be moved, the surface should be clean, and the area should be dry. If the site has load-shedding or limited power, plan printing, lighting checks and access around it so there are no delays on the day. For larger graphics, a site survey helps us confirm the best panel sizes and sequence before anything is applied.
After installation, avoid washing or scrubbing the graphic straight away. Let the adhesive settle and keep direct water off the area for the recommended time. If the graphic is in a busy office, retail store or warehouse, include it in regular visual checks. Small edge lifts, marks or impact damage are easier to fix early than after they spread.
- Clear the wall and nearby furniture before the team arrives.
- Keep the room dry and free of dust during install.
- Wait before cleaning the new graphic.
- Log any wear so maintenance can be done on time.